How to modify settings of PV with Visual LVM - Manage LVM with Visual LVM, from 0 to ∞ (4)
Section 2 : The Physical Volume operations
Author : weLees
Contents and compilations published on this website by the providers are subject to international copyright laws. Reproduction, editing, distribution as well as the use of any kind outside the scope of the copyright law require written permission of the author or weLees.
The Physical volume is the base of LVM, all structures and components are stored into Physica volume. To use LVM we need to create at least one Physical volume.
Section 2.3 Change Physical Volume
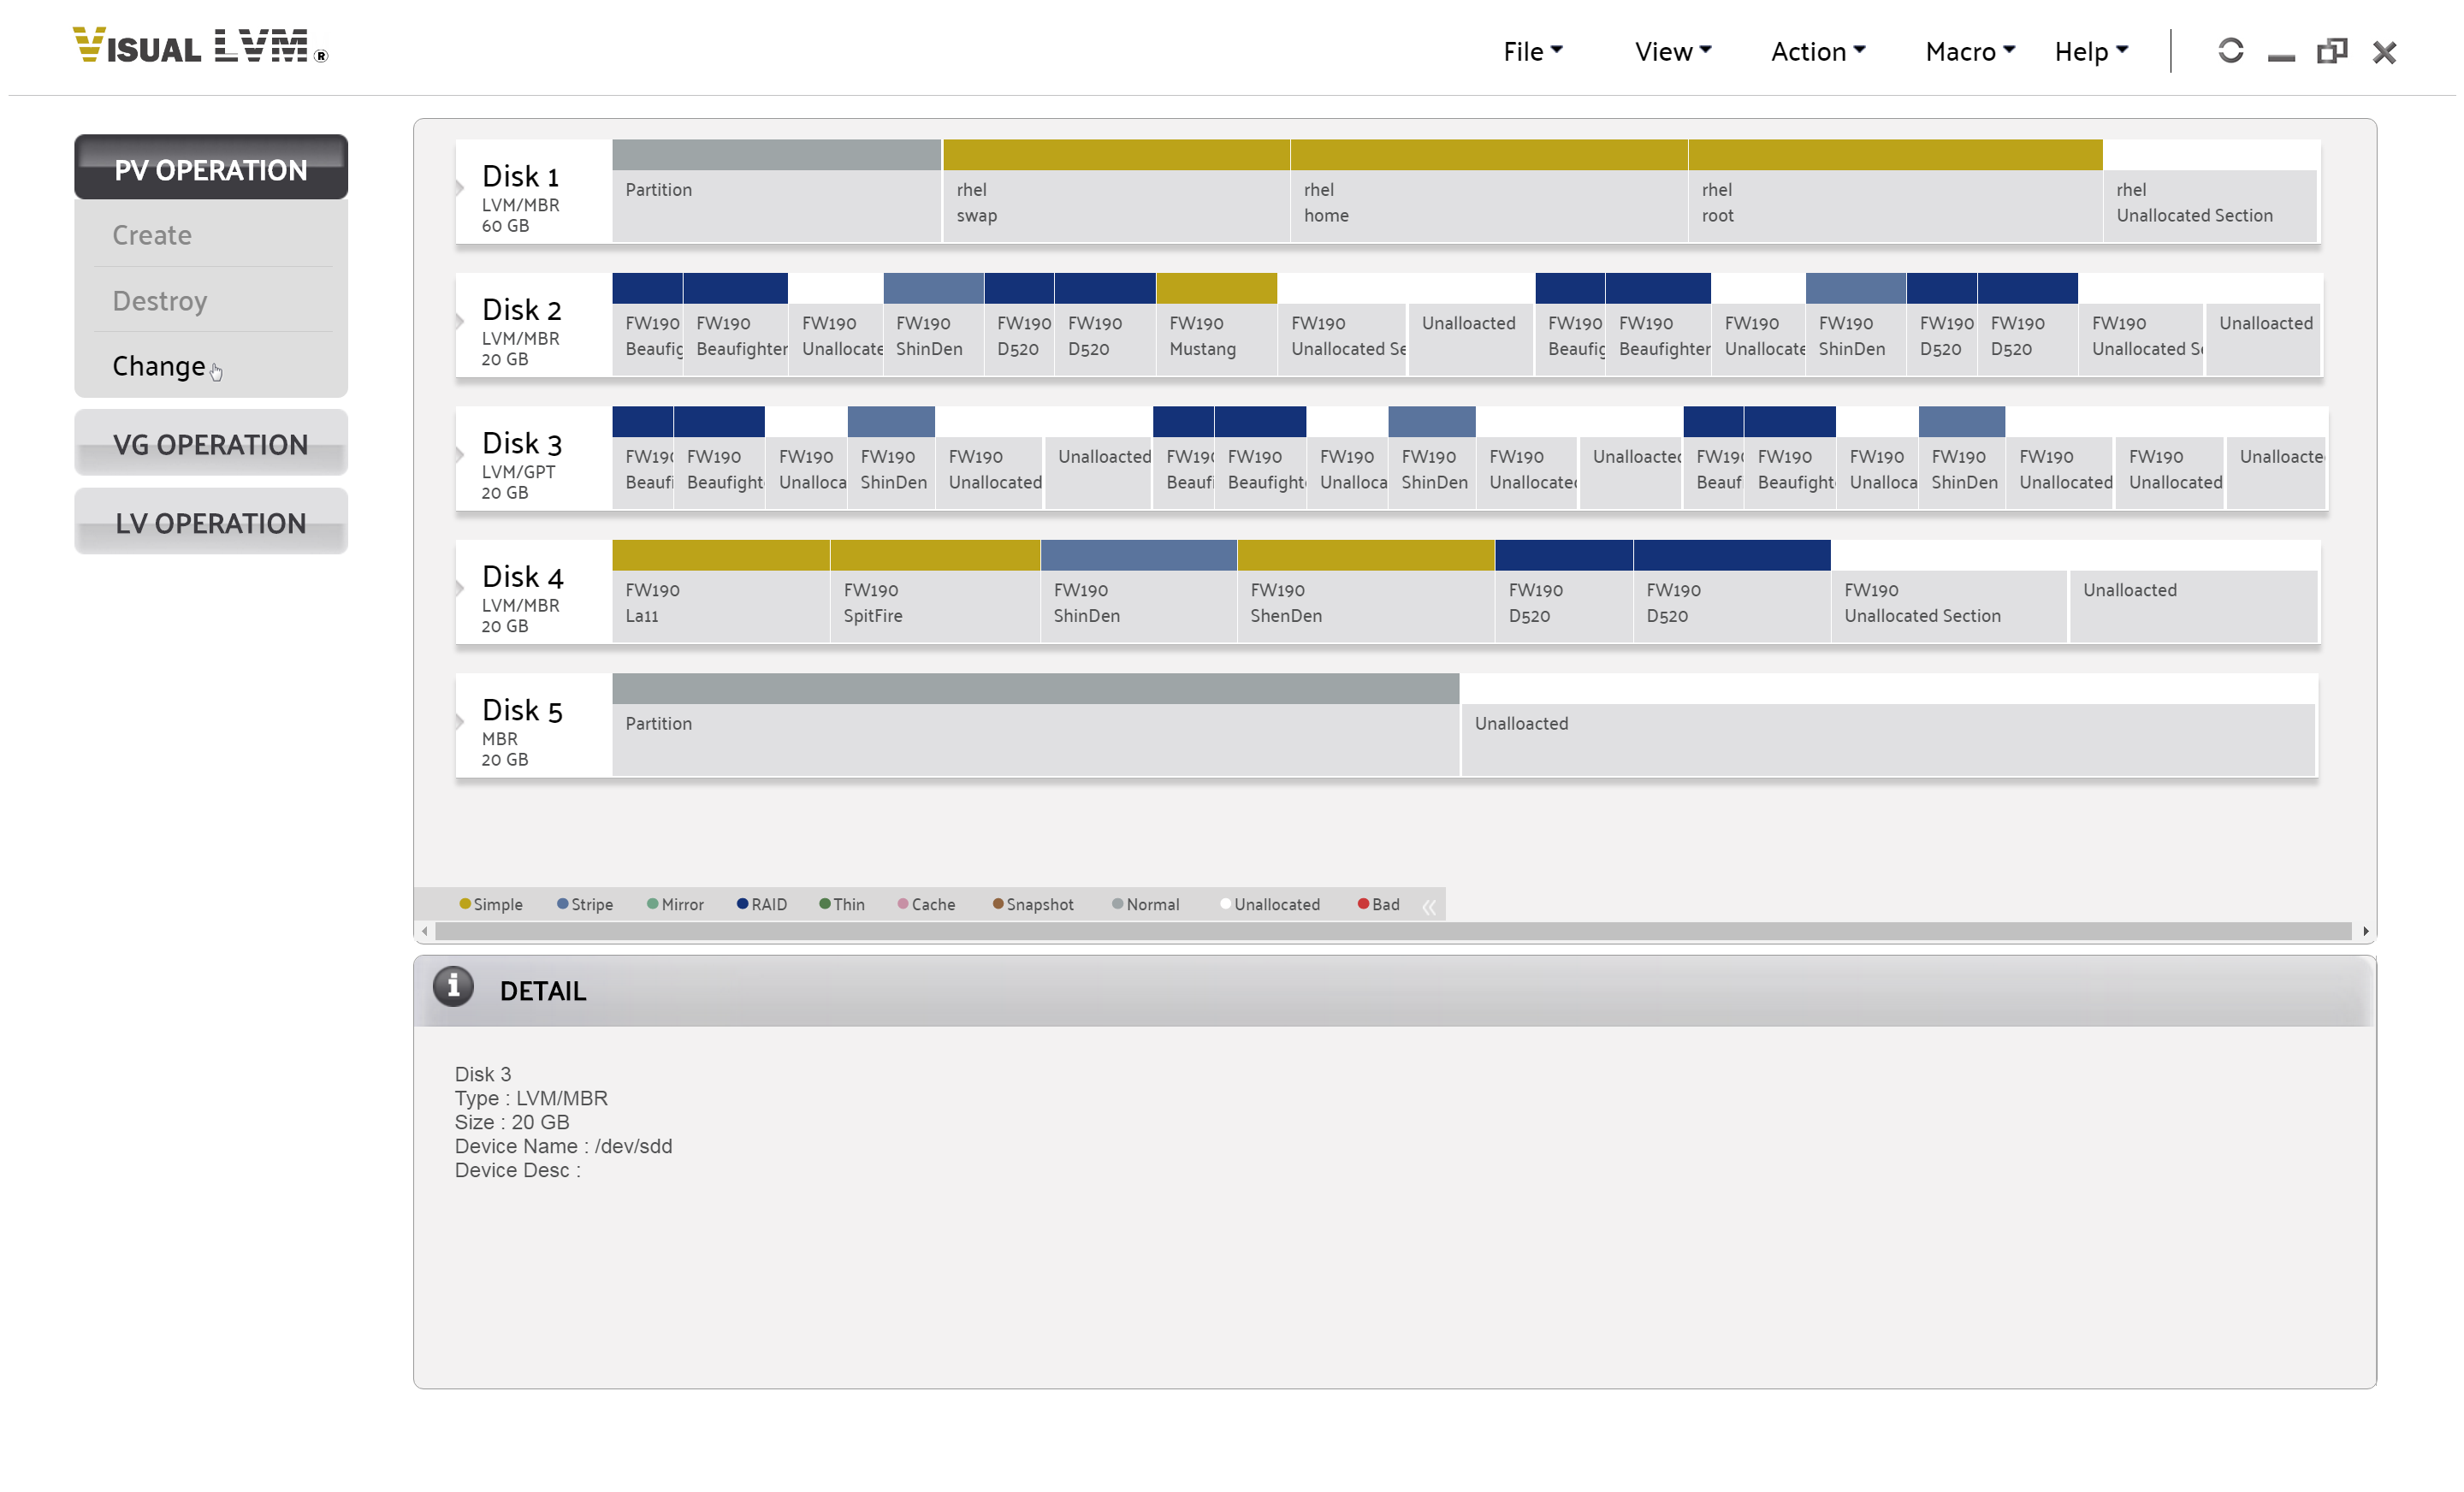
To change settings of Physical Volume, select a Physical Volume and select PV Operation -> Change in navgating bar to start changing wizard, of course you can select partition after wizard started.

Select PV Operation->Chnage to start change Physical Volume setting wizard
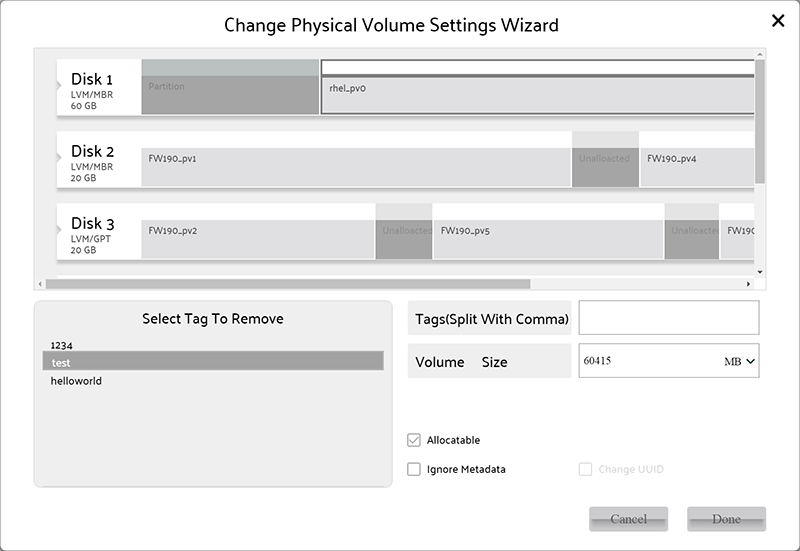
Selecting desired partition. Some setting can not be change for Physical Volume not belongs to Volume Group.
Here we can change followed parameters:
1. Existing tag : Select the tag(s) for removing -- Multiple selecting is acceptable.
2. Add new tag : The characters of tag must be in 'a'-'z','A'-'Z','0'-'9','-','_'. Using comma to separate tags. You can not add tag to a Physical Volume not belongs to Volume Group.
3. Volume Size : The range is from last Logical Volume instance in Physical Volume to size of Physical Volume sub both Meta Area and Boot Area.
6. Ignore Metadata : To let LVM ignore current Physical Volume during modifing meta data.
7. Change UUID : To change UUID of current Physical Volume, It is only available for Physical Volume not belongs to Volume Group.

Change setting of Physical Volume wizard
When all setting(s) modified, press Done button on perform changing Physical Volume setting operation.
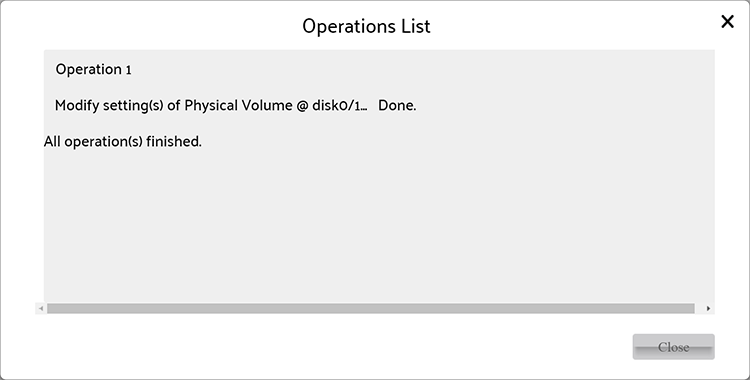
After operation finished, Visual LVM shows follow dialog to inform user that setting of Physical Volume has been changed.

Setting of Physical Volume changed