How to manage LVM with GUI in ArchLinux
Author : weLees
Contents and compilations published on this website by the providers are subject to international copyright laws. Reproduction, editing, distribution as well as the use of any kind outside the scope of the copyright law require written permission of the author or weLees.
There is no built-in graphical LVM manager with ArchLinux, and if you want to use the GUI LVM manager in ArchLinux, you need to download and install the appropriate tools from the network.
At present, the mainstream GUI LVM tools that can be used in ArchLinux include GParted, and KVPM(there is some limit in LVM GUI, so it is not recommented). Users need to download the corresponding installation package from the network to use.
Not only are the features of these tools limited, but crucially, they only run in native GUI environments. For mini Server or cloud server without native GUI module, the above three kinds of software cannot be used.
This is where the Visual LVM Remote is available.
The Visual LVM Remote is a GUI LVM manager developed based on Http protocol. It can work on any Linux system that supports LVM.
At the same time, because its front end is based on Http protocol, so it naturally supports remote management, coupled with advanced features designed for storage administrators, can be said to be the most suitable for storage administrators GUI LVM manager.
First you need to download the Visual LVM Remote, and then unzip the downloaded ZIP file.
Go to the visual-lvm-remote directory and run the command 'visual-lvm-install.sh install' to install Visual LVM Remote.
Follow the prompts to set up the installation directory, working port, login password, and whether you need to run automatically after system boot.

install Visual LVM Remote
If you want to start the Visual LVM Remote manually, execute 'vlvmstart start' on the command line.
After starting the Visual LVM Remote, runing browser on local xWindows environment or any platrom that can connect to current machine, and enter the address and the port in the address bar.

Login to Visual LVM Remote
Login with password set-up during installation

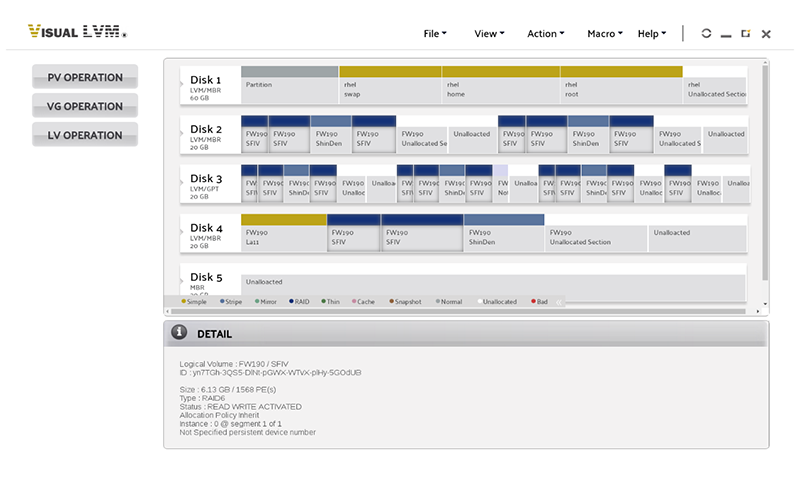
Visual LVM Remote main frame
The Visual LVM Remote has exactly the same interface and operation as Visual LVM Standard, so we won't mention it in this article. Please refer to the Visual LVM Standard user guide if necessary.
Note the Visual LVM Remote has added settings to change passwords and run ports.

Change login password of Visual LVM Remote

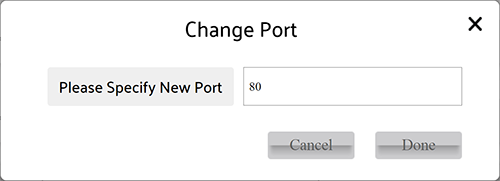
Change port of Visual LVM Remote
User need to re-open page with new port & login for using Visual LVM Remote after port changed.
Caution : The Visual LVM Remote which is before MKIII Mod2 Step 575 cannot be run automatically after archLinux is started.
If user need to run Visual LVM Remote automatically after start up, follow the following steps:
Create file: /usr/lib/systemd/system/visual-lvm.service
Write followed content into it
[Unit]
Description="Visual LVM service"
[Service]
Type=forking
ExecStart=/usr/visual_lvm/vlvmstart start #use your install path to replace /usr/visual_lvm
ExecReload=/usr/visual_lvm/vlvmstart restart #use your install path to replace /usr/visual_lvm
ExecStop=/usr/visual_lvm/vlvmstart stop #use your install path to replace /usr/visual_lvm
After=network.target
[Install]
WantedBy=multi-user.target
Execute the command
systemctl enable visual-lvm.service
To cancel the boot auto run, execute the following command
systemctl disable visual-lvm.service